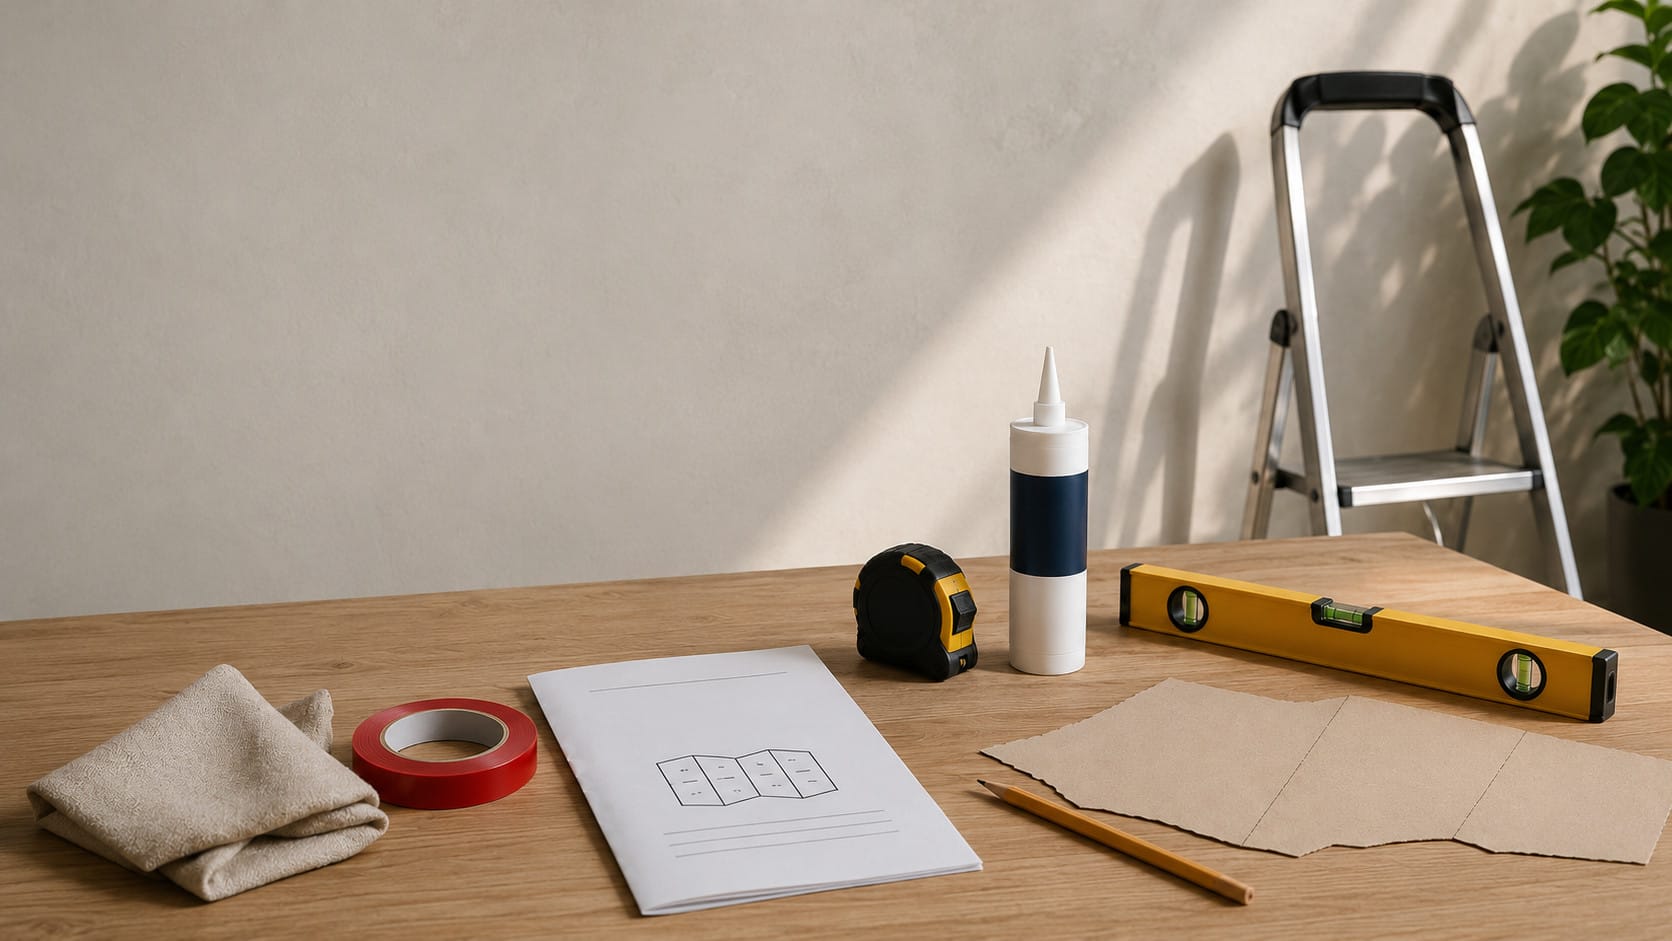
Aprendizaje Para instalar correctamente un mapa del mundo de madera, lo primero es elegir el método de fijación adecuado para tu pared. En una pared lisa y pintada, utiliza cinta de montaje de doble cara de alta resistencia. En paredes con papel pintado o superficies irregulares, utiliza en su lugar adhesivo de montaje. Se incluyen plantillas de instalación de cartón e instrucciones para ayudarte a colocar correctamente el diseño, pero la cinta de doble cara no está incluida. La instalación suele durar entre 1 y 2 horas.
Una distribución bien planificada ayuda a que el mapa terminado se integre de forma natural en la estancia. Antes de comenzar, dedica tiempo a revisar la pared, preparar la zona de trabajo y seguir las instrucciones de instalación de tu mapa del mundo de madera..
Elige el método de fijación adecuado para tu pared
El tipo de superficie debe guiar la elección del material de fijación. Una pared lisa y pintada requiere cinta de montaje de doble cara de alta resistencia, mientras que una pared con papel pintado o una superficie irregular requiere adhesivo de montaje. Estos métodos no son automáticamente intercambiables, ya que el acabado, la textura y el estado de la pared pueden influir en la adherencia del material utilizado.
Empieza examinando atentamente la zona prevista. Una superficie pintada puede parecer uniforme desde lejos, pero conviene comprobar si la pintura se descascarilla o si hay relieves, grietas o zonas inestables. En el papel pintado, revisa las juntas y los bordes. En paredes texturizadas o irregulares, observa dónde cambia la superficie, ya que estas variaciones pueden dificultar un contacto uniforme y preciso.
La cinta de doble cara no está incluida. Si vas a instalar el mapa en una pared lisa y pintada, adquiere por separado una cinta de montaje de doble cara resistente y adecuada. Independientemente de la cinta o el adhesivo que elijas, lee las instrucciones del fabricante antes de empezar y confirma que el producto sea apropiado para el acabado concreto de tu pared.
Prepara la pared y la zona de instalación
Una buena preparación favorece un resultado limpio y ordenado. Antes de fijar cualquier pieza, asegúrate de que la superficie de la pared esté limpia, seca y libre de materiales sueltos. El polvo, los residuos, la humedad, la pintura descascarillada o el papel pintado despegado pueden reducir la adherencia del material de fijación y hacer que el montaje sea menos fiable.
Retira el polvo superficial con un paño limpio y seco. Si has limpiado la pared de otro modo, deja que se seque por completo. Evita instalar el mapa sobre papel pintado que se levante en las juntas o sobre pintura que ya se esté descascarillando. Si el acabado de la pared no parece estable, soluciona primero ese problema antes de confirmar la distribución definitiva del mapa.
También es útil preparar el espacio alrededor de la pared. Despeja una mesa o una zona del suelo donde puedas organizar las piezas del mapa y revisar su distribución sin prisas. Ten a mano las plantillas, las instrucciones, los instrumentos de medición, un nivel, la cinta o el adhesivo y un paño limpio. Una buena iluminación también facilitará la observación de la textura de la pared, las marcas de las plantillas y los espacios entre las piezas.
Antes de aplicar cualquier material de fijación, consulta las indicaciones del fabricante sobre su uso en la superficie de tu hogar. Esto es especialmente importante si la pared tiene un acabado decorativo, papel pintado, una textura marcada o un tratamiento superficial modificado recientemente.
Planifica la distribución con las plantillas incluidas
Se incluyen plantillas de instalación de cartón e instrucciones para simplificar la planificación. Utilízalas para establecer la posición del mapa antes de fijar las piezas individuales a la pared. Las plantillas proporcionan una estructura visual clara para la composición y te permiten trabajar a partir de una referencia definida, en lugar de estimar la posición de cada pieza por separado.
Empieza por decidir la altura total del mapa. Ten en cuenta los muebles situados debajo, las principales líneas de visión de la habitación y la cantidad de pared libre alrededor del diseño. Dejar espacio visual alrededor de los bordes exteriores ayuda a que el mapa se perciba como un elemento decorativo completo, en lugar de quedar encajonado entre estanterías, marcos, puertas o muebles cercanos.
Fija provisionalmente o sujeta las plantillas en la posición prevista mientras evalúas la distribución. Utiliza un nivel e instrumentos de medición cuando sea necesario para mantener la composición equilibrada. Mide siempre desde un punto de referencia constante, como el techo, la línea del suelo o la parte superior de un mueble. No te guíes únicamente por el aspecto de los elementos arquitectónicos cercanos, ya que podrían no estar perfectamente rectos.
Retrocede unos pasos y observa las plantillas desde la distancia habitual de visualización. Esta perspectiva más amplia permite comprobar si el mapa está demasiado alto, demasiado bajo o demasiado cerca de otro elemento de la estancia. Realiza ahora los ajustes necesarios, mientras todavía son sencillos, en lugar de hacerlos después de haber empezado a fijar las piezas.
Cómo instalar un mapa del mundo de madera en una pared lisa y pintada
En una pared lisa y pintada, utiliza cinta de montaje de doble cara de alta resistencia. Cuando la pared esté limpia y seca y hayas confirmado que la superficie es adecuada para la cinta elegida, sigue las instrucciones de instalación incluidas y la distribución de plantillas que ya has comprobado.
- Mantén visible la distribución prevista de las plantillas. Utilízala como guía durante toda la instalación para que cada pieza quede correctamente relacionada con la composición completa.
- Trabaja de forma metódica. Fija las piezas en el orden indicado por las instrucciones o siguiendo otra secuencia clara y constante. Evita colocarlas únicamente a ojo, sobre todo al principio, ya que una pequeña variación en la alineación puede afectar a los espacios de todo el diseño.
- Aplica la cinta de acuerdo con las instrucciones del fabricante. Sigue las indicaciones proporcionadas sobre su colocación, manipulación y la presión que debe ejercerse.
- Coloca cuidadosamente cada pieza antes de presionarla contra la pared. Comprueba su posición respecto a la plantilla y a las piezas contiguas y, a continuación, presiónala con firmeza según las indicaciones del fabricante de la cinta.
- Revisa el mapa con regularidad a medida que avances. Haz pausas de vez en cuando y aléjate de la pared para confirmar que la composición general continúa equilibrada.
Trabajar con calma y precisión resulta más útil que intentar avanzar deprisa. Un montaje guiado por plantillas ofrece una referencia clara en cada etapa y ayuda a mantener los espacios previstos en todo el diseño.
Cómo instalar el mapa sobre papel pintado o paredes irregulares
En paredes con papel pintado o superficies irregulares, utiliza adhesivo de montaje en lugar de cinta de doble cara. El papel pintado y las superficies texturizadas requieren un enfoque específico, por lo que debes leer las instrucciones de aplicación del fabricante del adhesivo y sus indicaciones de compatibilidad con la pared antes de utilizarlo.
Examina el papel pintado con especial cuidado antes de empezar. Busca juntas sueltas, bordes levantados, burbujas o zonas que no parezcan estar firmemente adheridas a la pared. Valora el estado del papel y el posible efecto del adhesivo antes de decidir si continúas. Aplica la misma precaución a las superficies irregulares: identifica texturas pronunciadas, relieves, hendiduras o zonas inestables dentro del área prevista.
Mantén las plantillas de cartón en su sitio como referencia visual mientras colocas las piezas del mapa. En una pared menos uniforme, resultan especialmente útiles para conservar las relaciones previstas entre las distintas formas. Comprueba la posición de cada pieza respecto a la distribución general antes de aplicar el adhesivo, en lugar de intentar corregir toda la composición más adelante.
Aplica el adhesivo de montaje únicamente conforme a las instrucciones del fabricante. Trabaja con una pieza cada vez y mantén una secuencia constante a lo largo de todo el mapa. Durante el proceso, revisa la distribución tanto de cerca como retrocediendo unos pasos. La observación cercana facilita la colocación precisa respecto a la plantilla, mientras que una vista más amplia ayuda a valorar el equilibrio de toda la pared.
Reserva tiempo suficiente para una instalación cuidadosa
La instalación suele durar entre 1 y 2 horas. Es una referencia útil para planificarte, pero el tiempo real puede variar según el estado de la pared, la preparación necesaria y el cuidado con el que revises la distribución mientras trabajas.
Reserva suficiente tiempo sin interrupciones para completar todo el proceso: preparar la pared, organizar la zona de trabajo, comprobar las plantillas, aplicar el material de fijación elegido, colocar las piezas y revisar la composición terminada. Siempre que sea posible, elige un momento en el que el espacio frente a la pared pueda permanecer despejado y no tengas que mover muebles ni trabajar alrededor de otras actividades.
La fase de colocación requiere la mayor paciencia. Es el momento en el que mejor puedes valorar los espacios, la altura y el equilibrio visual. Una breve pausa para retroceder y observar el mapa completo puede ser más útil que continuar inmediatamente con la siguiente pieza.
Errores de montaje habituales que debes evitar
- Utilizar el mismo método en todas las paredes. Las paredes lisas y pintadas requieren cinta de montaje de doble cara de alta resistencia, mientras que el papel pintado y las paredes irregulares requieren adhesivo de montaje.
- Omitir la revisión de la superficie. No des por hecho que una pared es adecuada sin comprobar si hay papel pintado suelto, pintura descascarillada, zonas inestables o una textura pronunciada.
- Empezar el montaje antes de confirmar la distribución. Utiliza las plantillas de cartón y las instrucciones incluidas para establecer la posición completa de la composición antes de fijar las piezas.
- Calcular la posición a partir de objetos cercanos. Utiliza un nivel e instrumentos de medición cuando sea necesario, en lugar de asumir que el techo, los muebles o las molduras están perfectamente rectos.
- Hacer la revisión final con prisas. Aléjate de la pared durante el trabajo y una vez instalado el mapa para valorar la composición en su conjunto.
- Suponer que la cinta está incluida. La cinta de doble cara no se incluye, por lo que para instalar el mapa en una pared lisa y pintada es necesario adquirir por separado una cinta de montaje de doble cara de alta resistencia.
Dónde encontrar más información sobre los mapas de madera
Para observar el diseño con más detalle, visita instrucciones de instalación de tu mapa del mundo de madera. la página de producto del mapa del mundo de madera. Las plantillas de cartón y las instrucciones incluidas te ayudarán a planificar una instalación cuidada y adaptada a tu espacio.
Si tienes más preguntas sobre el mapa o su instalación, consulta las preguntas frecuentes sobre mapas de madera para obtener información adicional.