Käsintehty rakkaudella Liettuassa


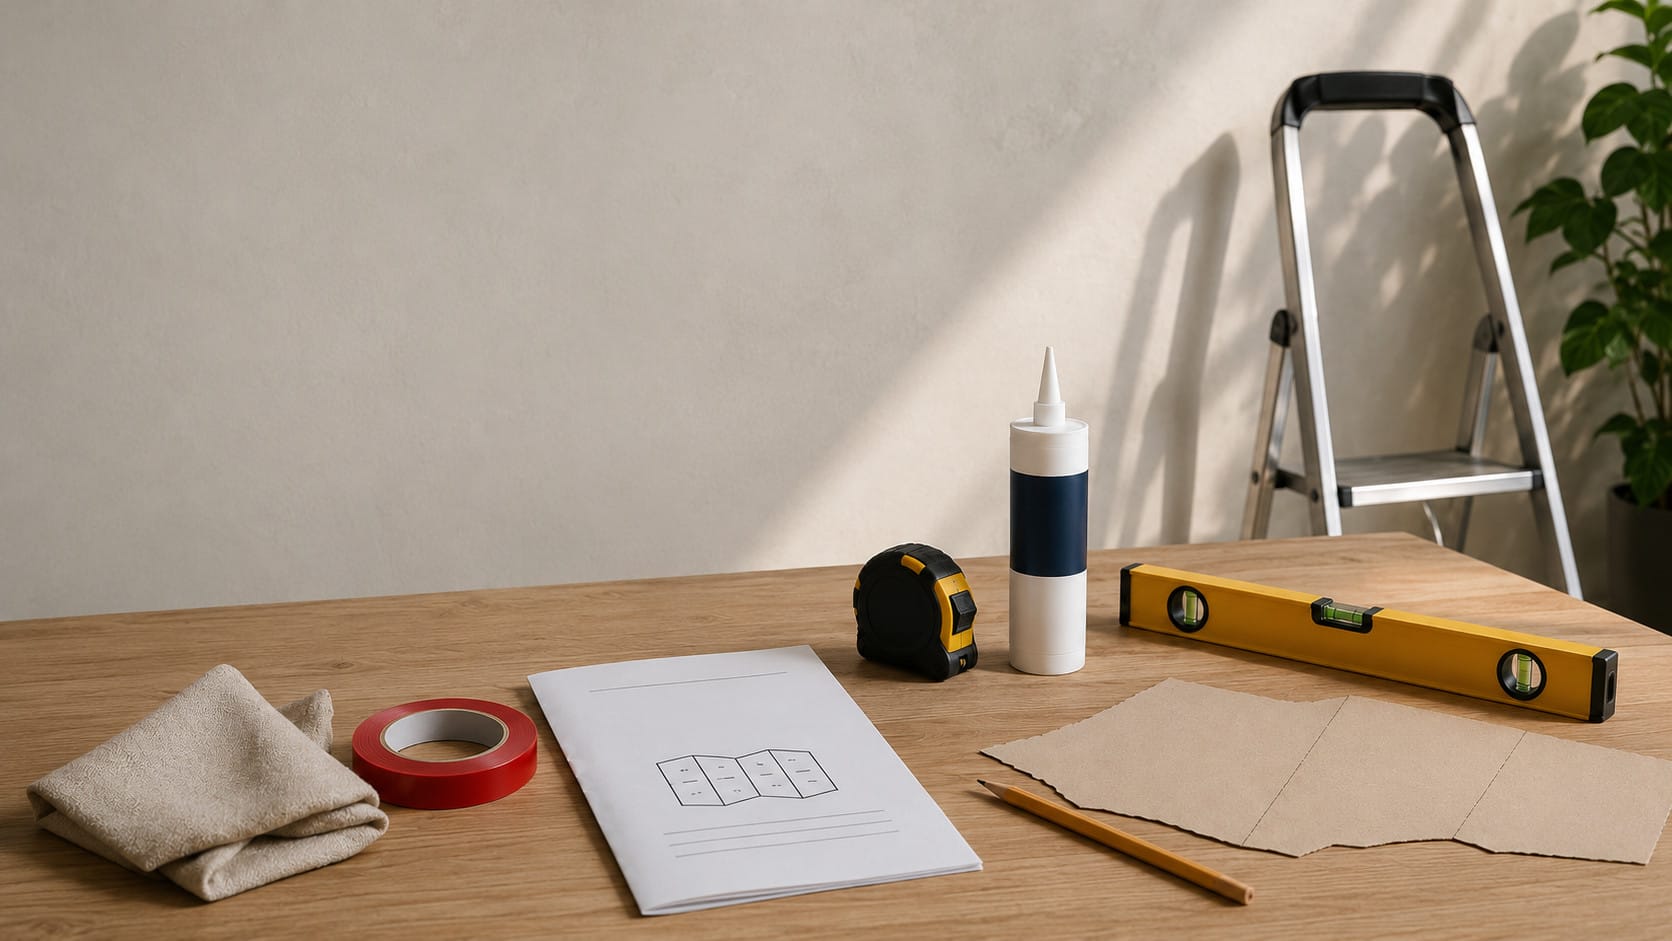
Learning how to mount a wooden world map starts with choosing the mounting method that suits your wall. Use strong double-sided mounting tape on smooth painted walls. For wallpaper or uneven walls, use mounting adhesive instead. Cardboard installation templates and instructions are included to help you position the design, while double-sided tape is not included. Installation usually takes around 1–2 hours.
A considered layout makes the finished map feel at home in the room. Before beginning, take time to assess the wall, prepare your workspace, and follow the installation instructions for your wooden world map.
The wall surface should guide your choice of mounting material. A smooth painted wall calls for strong double-sided mounting tape, while wallpapered or uneven walls require mounting adhesive. These methods are not interchangeable by default, because a wall’s finish, texture, and condition can affect how a mounting material performs.
Start by looking closely at the intended area. Smooth paint may appear even from a distance, yet it is still worth checking for flaking paint, raised patches, cracks, or areas that feel unstable. On wallpaper, inspect seams and edges. On textured or uneven walls, note where the surface changes, as these variations can make accurate contact more difficult.
Double-sided tape is not included, so obtain suitable strong double-sided mounting tape separately if you are installing the map on a smooth painted wall. For any tape or adhesive you choose, read the manufacturer’s instructions and confirm that it is appropriate for your particular wall finish before starting.
Good preparation supports a neat installation. Make sure the wall area is clean, dry, and free from loose material before mounting any pieces. Dust, residue, dampness, peeling paint, or loose wallpaper can interfere with the selected mounting material and make placement less reliable.
Use a dry, clean cloth to remove surface dust, then allow the area to dry fully if it has been cleaned in another way. Avoid mounting over wallpaper that is lifting at the seams or paint that is already peeling. If the wall finish does not feel stable, address that condition before committing to the map layout.
It is equally useful to prepare the area around the wall. Clear a table or section of floor where you can organise the map pieces and review their arrangement without rushing. Keep the templates, instructions, measuring tools, level, tape or adhesive, and a clean cloth within easy reach. Working in good light will also make it easier to see wall texture, template markings, and the spacing between pieces.
Before applying any mounting material, check its manufacturer guidance for use with the surface in your home. This is especially important if the wall has a decorative finish, wallpaper, texture, or a recently changed surface treatment.
Cardboard installation templates and instructions are included to make planning more straightforward. Use them to establish the position of the map before attaching individual pieces to the wall. Templates provide a visual structure for the composition, helping you work from a defined reference rather than estimating placement piece by piece.
Begin by deciding the overall height of the map. Consider the furniture below it, the room’s main sightlines, and the amount of open wall around the design. Leaving visual space around the outer edges helps the map read as a complete feature rather than feeling crowded by shelves, frames, doors, or nearby furnishings.
Secure or hold the templates in their intended position while you assess the layout. Use a level and measuring tools where needed to keep the arrangement balanced. Measure from a consistent point, such as the ceiling, a floor line, or the top of a cabinet, rather than relying only on the appearance of nearby architectural features, which may not be level.
Step back to view the templates from the usual viewing distance. This wider perspective is valuable: it reveals whether the map sits too high, too low, or too close to another feature in the room. Make any layout adjustments now, when they are simple to make, rather than after mounting has begun.
For a smooth painted wall, use strong double-sided mounting tape. Once the wall is clean, dry, and confirmed as suitable for the tape, follow the included installation instructions alongside the template layout you have already checked.
Working calmly is more helpful than working quickly. A template-led approach gives you a clear reference at every stage and helps preserve the intended spacing across the design.
For wallpaper or uneven walls, use mounting adhesive rather than double-sided mounting tape. Wallpaper and textured surfaces need their own approach, so read the adhesive manufacturer’s application instructions and wall-compatibility guidance before use.
Examine wallpaper particularly carefully before beginning. Look for loose seams, lifted edges, bubbling, or areas that do not appear firmly attached to the wall. Consider the condition of the wallpaper and the possible effect of adhesive before deciding to proceed. The same care applies to uneven surfaces: identify prominent texture, ridges, depressions, or unstable areas in the intended layout.
Keep the cardboard templates in place as a visual reference while positioning the map pieces. On a less uniform wall, the templates are especially helpful for maintaining the intended relationships between shapes. Confirm each piece’s position against the layout before applying adhesive, rather than trying to correct the overall arrangement later.
Apply mounting adhesive only in accordance with the manufacturer’s instructions. Work one piece at a time, maintaining a steady sequence across the map. As you go, check the layout from both close range and a few steps back. Close inspection helps with placement against the template; a wider view helps you judge balance across the full wall.
Installation usually takes 1–2 hours. This is a useful planning guide, but the time required can vary depending on the wall condition, the amount of preparation needed, and how carefully you review the layout as you work.
Set aside enough uninterrupted time for the full process: preparing the wall, arranging the workspace, checking the templates, applying the chosen mounting material, positioning the pieces, and reviewing the completed composition. If possible, choose a time when the wall area can remain clear and you will not need to move furniture or work around other activities.
The placement stage deserves the most patience. This is when you can best assess spacing, height, and visual balance. A short pause to step back and look at the map as a whole can be more valuable than continuing immediately with the next piece.
For a closer look at the design, visit the wooden world map product page. The included cardboard templates and instructions can help you plan a considered installation for your space.
If you have further questions about the map or installation, visit the wooden map FAQ for additional guidance.